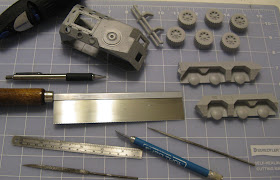
To answer Nick @ Chapterhouse (thanks btw) I aligned the side panels using the angles on the plastic chassis and the rear door as seen in these 2 photos. Had I used the existing register keys on the resin kit the side panels would have been shifted up about an 1/8 of an inch resulting in a gross mismatch and a bad looking kit.
I added a small strip of plastic to the bottom front of the chassis to bring the bottom of the hull in-line with the side panels and to give me an hard line to bring the filler up to. Other than the gaps visible in pt1 this is the other major area to work on. this is a result of the original sculpt not having the right angle to line up with the plastic chassis. A problem but not bad considering its a resin/plastic hybrid made by 2 different companies (also the front bumper piece will cover much of this up).
I was going to fill the front gap with GS but changed my mind and went with a thin band of plastic card. so that I could have a smooth finish. In the left hand corner of this photo you can see some GS building up the edge of the vehicle. Once I got the GS sanded level with the plastic chassis it began to peel away b/c it was so thin. I had to use a different method to fill this area and build it up to a proper flat panel. I used Baking soda and super glue to fill it.
For those that are unfamiliar with the method, Baking soda is a super glue accelerant and filler. Pack the gap level with baking soda and add a drop or two of thin super glue, it will set nearly instantly and be nearly transparent. It is actually over the GS in the above pic.
I am changing the front end a little bit, the bottom half will be set at a slightly different angle using another band of plastic card and then it is ready for the bumper.
Speaking of the bumper, this is the only piece to have any bubbles or voids (seen in black sharpie) and they are small & easy to fix. Far better quality control on the casting side than Forgeworld, Finecast, or most other resin companies I have used.


