Showing posts with label PressMold. Show all posts

Monday, June 4, 2012

Project Compendium Tyranid Swarmlord

This is a compilation of the WiP posts for the Tyranid Swarmlord


I have been running two conversion projects at once, to fill the down time while waiting on green stuff to cure.

Starting Bitz;


I am going to be using a Trygon torso and 2 Trygon head plates (not pictured), plus a set of Carnifex legs and tail, standard Carnifex head and standard Carnifex armored plate (not pictured either).


Torso modifications:


I removed the 2nd and 3rd ridges from the armored plate,  I would later go on to remove the first two back vents as well.


Torso modifications step 2:


Here you can see the Carnifex armored plated and additional green stuff vent that has been added to the torso.  The Carnifex tail section has been lengthened so that the torso and tail/waist will fit correctly.  The tops of the Carnifex legs have been widened and Trygon head crests have been cut into armor plating for the thighs.

Leg conversion process
Thighs removed from legs
Thighs cut in half


The Carnifex thighs were removed with a jewelers saw, the cut in half with a standard hobby razor saw.  The thighs were then widened by gluing the halves to a 1/8 inch thick piece of plastic card and sculpting/sanding it down to match the original contour.  Your can see the white plastic card in a photo above this.

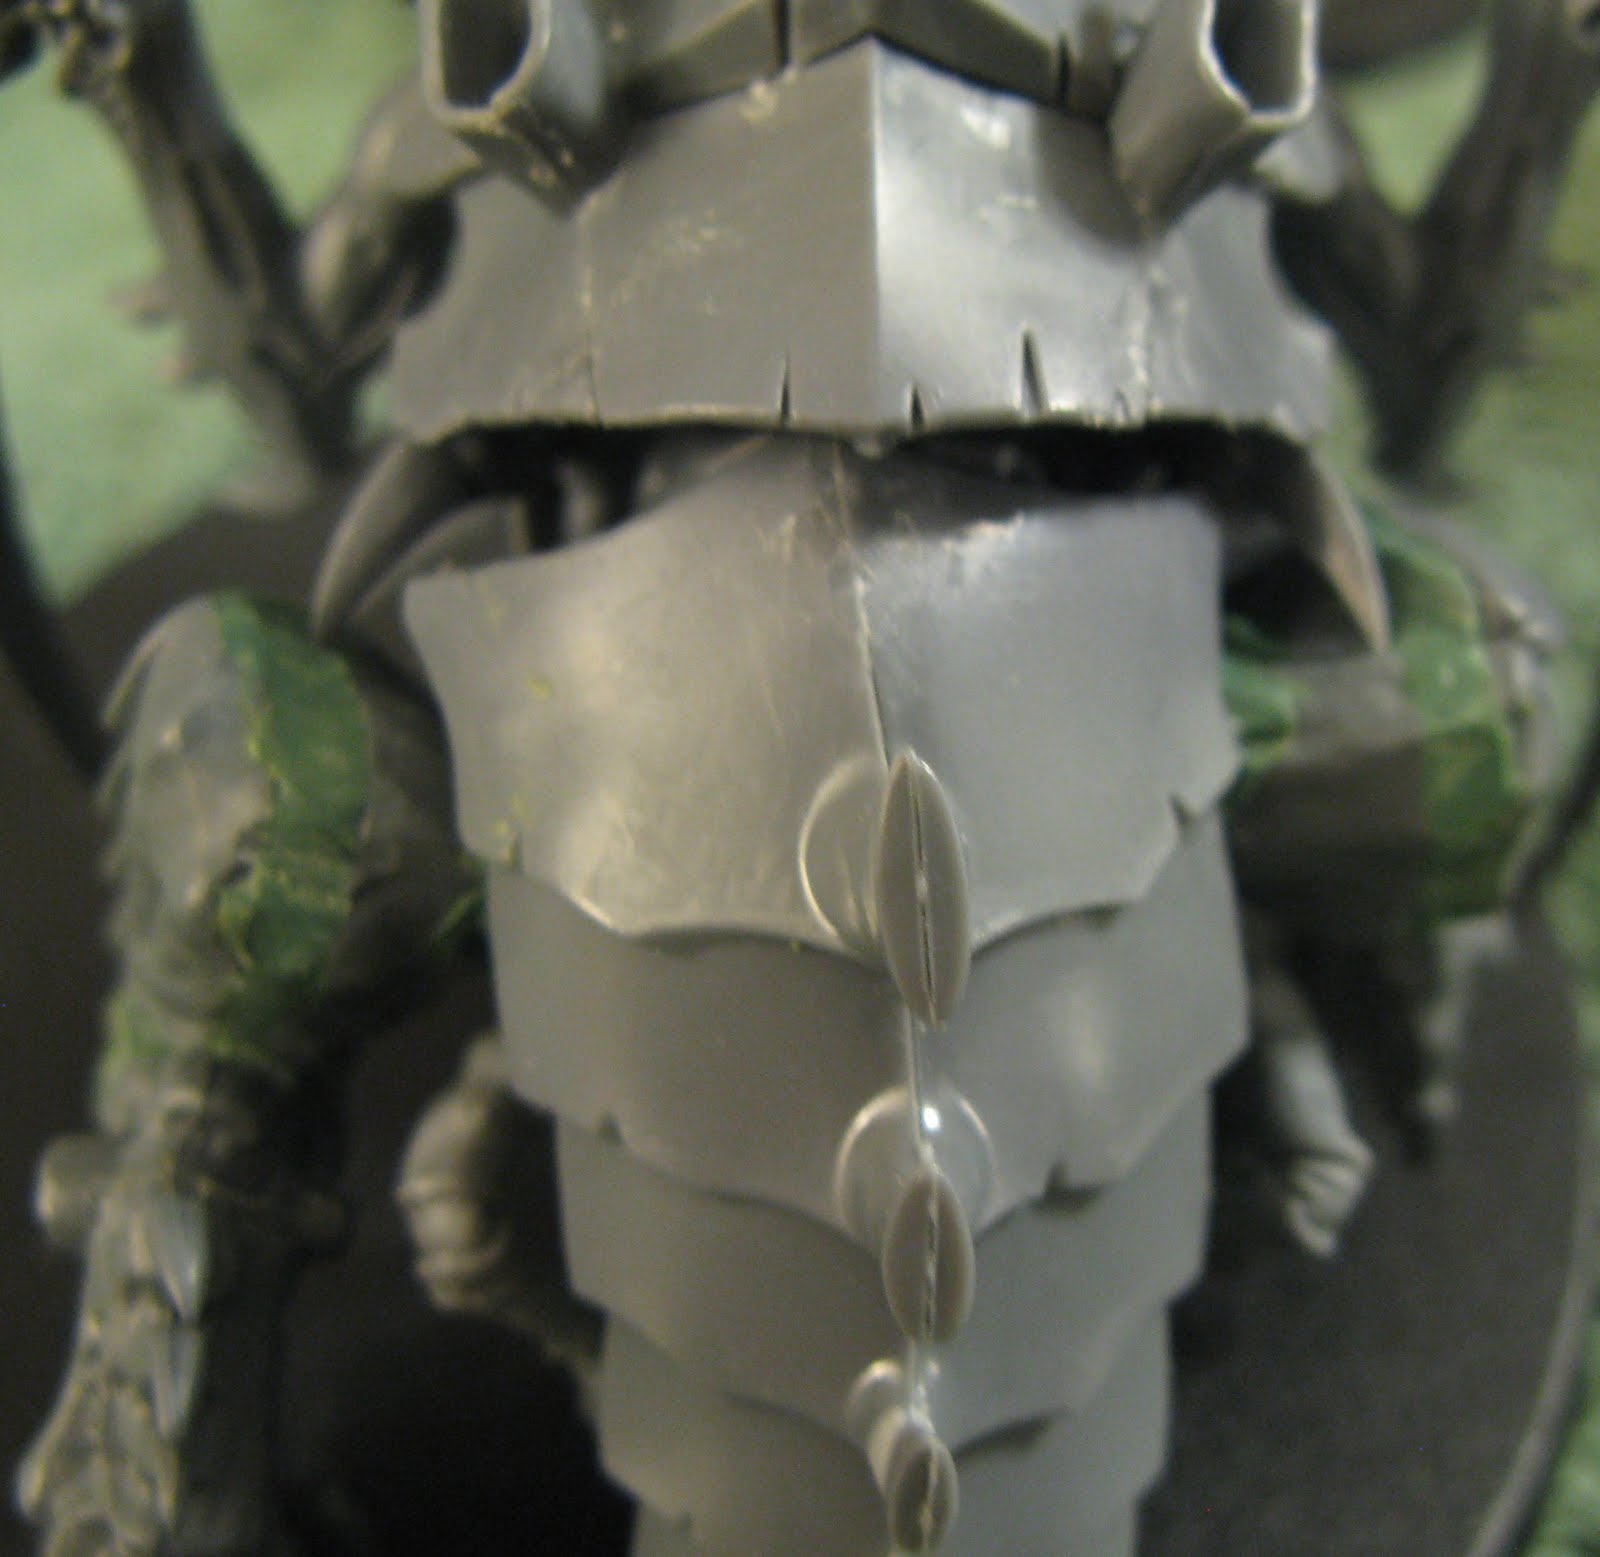
Trygon torso:
Beginning to blend the Carnifex armor plate into the torso and have added the first 2 green stuff vents.


Waist & Tail extended and armor plate added


Torso & Tail dry fit


The last two pairs of vents still need to be extended with GS.

Current edition Hive Tyrant tail
I need 2 of these and I don't want to pay for them as bitz on eBay.


Press Mold
I used Instant Mold to make a quick press mold.


I took a piece of brass rod and bent it to shape to be structural support of the tail.


Beginning to pack the mold with ProCreate at a 60/40 mix.


Two short tail sections molded up with brass rod inserts ready for use.


Legs about %85 complete


I need to fatten up the thighs a little bit, going for that softball player look.


Making the primary horn

Still need the extended goatee and talon thingies on the sides of the mouth


Tail section


Built up with brass rod and first layer of green stuff.

Update 4
Head


Moar Head


Those wonderful mouth claw thingies
I still need to finish out the neck muscles.


Thickened thighs
Ready to be cast in resin.


Update 5


Resin Leg casts are finished........ Wooo

Size comparisons
So it looks like Swarmy is gonna be shorter than a Trygon / Mawloc and taller than a current Tyrant.  That is an original hive tyrant up front, I now use them as either tyranid primes or tyrant guard.


Face off
The torso still needs 4 more spore vents and the small chest plate claws.


Top down


Side view


Leg comparison
Current hive tyrant, custom leg set, carnifex.


Thursday, November 3, 2011

WiP Tyranid Swarmlord pt 2.5

I left the forked tail pics out of the pt3 update:

Here goes:

Current edition Hive Tyrant tail
I need 2 of these and I don't want to pay for them as bitz on eBay.


Press Mold
I used Instant Mold to make a quick press mold.


I took a piece of brass rod and bent it to shape to be structural support of the tail.


Beginning to pack the mold with ProCreate at a 60/40 mix.


Two short tail sections molded up with brass rod inserts ready for use.


I have seen people ask on forums how to bend plastic.
I picked this up at a Michael's store I think retail was $20 (they almost always have a %40-%50 off coupon).


Turn it set it down, nice little kick stand.  And hold the carnifex tail nearby until the plastic develops a very shiny surface.  It can then be bent very easily.

  • It will be hot, be smart when touching it.
  • You can burn a copy of your finger prints into the nearly molten plastic, if you do let me know so we can all laugh at you.
  • Have a pan of cool water nearby to dunk the part into, to set the plastic in the new shape.


Wednesday, May 18, 2011

Press Molding small bitz

So I won a large lot of Necromunda Orlocks on eBay awhile back.  Three of the four heavy weapons models had no weapons or backpacks.  This makes me a sad panda.  So here is a quick tutorial on how to re-create the missing way oop parts

You will need one original to create the copy from!


You will need a flat clean work area, I am using a piece of plastic card here
I recommend Legos to build the mold box


Next place Instant Mold in hot (not quite boiling) water until it is soft and pliable. Place the instamold in the bottom of the box and press your bitz around halfway into the IM.  Allow the IM to harden at room temperature or place in the fridge. 

First half of mold is filled.


Next heat up another portion of IM and cover the other side of the Bitz, then cool as before.
Second half of mold is filled.


Once cooled to room temp remove the mold from the box and slowly separate the IM halves.  Mix up your green stuff or ProCreate putty and pack both halves of your mold.  Re-align your mold halves and press them together slowly squishing the excess greenstuff or Procreate out, you will probably need to trim some of the excess off before it sets. I use very strong clamps and small boards of MDF when pressing the mold halves together.


I use Procreate at a 60-40 mix per the instructions for a hard curing sand able finish.


Mold half with ProCreat bitz in it

Original compared to the copy

Above is a photo of the original and re-cast bitz,  Mold making time is around 30 minutes. The ProCreate sets up in around 4 hours, I let these set up while I was at work and I cleaned the mold lines after I got back home.  ProCreate continues to harden over the next 48 hours or so, meaning mold lines are easier to clean sooner than later.

Best part of this is I can reuse the Instant Mold for the next project or lost bit.

More examples:
All of these came from eBay, missing weapons.  The weapons are press mold copies made of ProCreate and the front 3 have copied backpacks.


These vents are press molded from Green Stuff.


Friday, May 13, 2011

Tyranid Tervigons WiP

Photos of my tervigon brood:

5 Tervigons


These are based on a modified trygon kit with a carnifex enhanced senses head and carnifex legs that have been widened with greenstuff.

Widened Legs


 Profile Shots

Tervigon with crushing claws
These legs are copies of the legs shown above made out of ProCreate using Instant Mold to make a press mold.


Showing off the press molded legs
Tervigon with scything talons


Magnets ready to go


Don't look Tervigons have mommy parts.


The hands are termigant spinefists that have been cut up and modified.